Cleaning your Embroidery Machine: A Complete Guide

Introduction:
Cleaning your embroidery gadget enables it to last longer and perform better. Regular cleansing keeps the device running smoothly and prevents unexpected troubles. A breakdown within the center of a challenge may be frustrating. Simple cleansing steps will let you avoid these troubles and preserve your work moving forward.
Embroidery machines, whether or not used at home or for enterprise, are complex and need regular care. Cleaning and renovation assist the machine paintings well. This guide will display you ways to take care of your embroidery system nicely.
This guide will give you an overview of cleaning routines, weekly maintenance, deep cleaning practices, and solving problems instructions. You’ll have the complete knowledge to maintain your machine, ensuring it remains a consistent device for all your embroidery projects by the end of this guide.
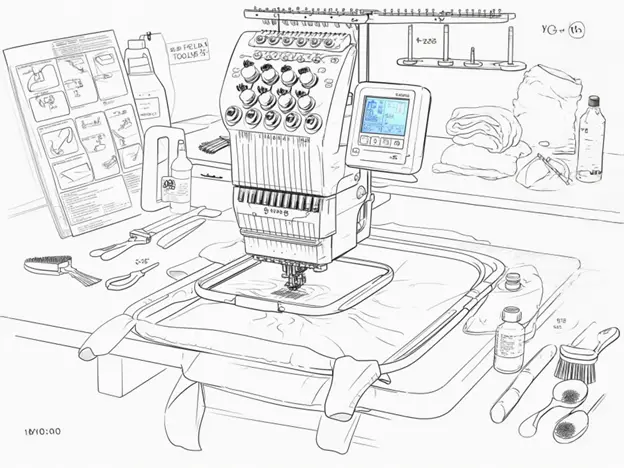
2. Understanding Your Embroidery Machine’s Cleaning Needs:
Embroidery machines have many parts that require normal care to work well. Parts just like the bobbin case, needle plate, tension discs, feed puppies, and thread course can collect lint, dust, and free threads. Cleaning these parts facilitates keeping stitching easy and accurate. Cleaning regularity varies consistently with the use of your embroidery machine:
- Light use needs daily cleaning
- Heavy use dictates regular maintenance
Always access brand-specific directions for your machine’s user manual. The cleaning understanding of your embroidery machine increases its lifetime. It also sustains its consistency.
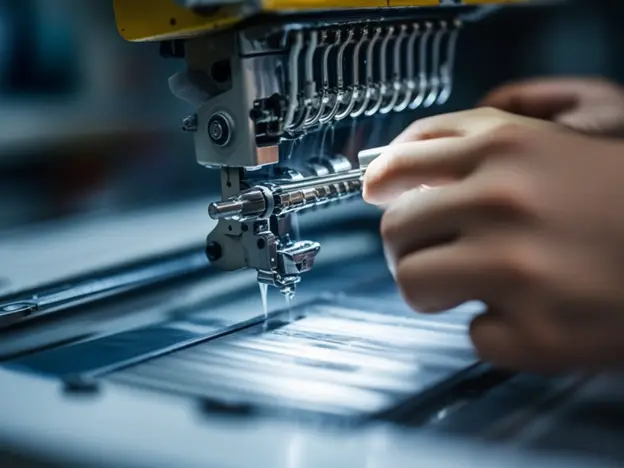
3. Daily Cleaning Routine:
Daily cleansing facilitates your embroidery device run easily. Remove lint from the bobbin case, needle plate, and close by parts. Use smooth lint brushes and tweezers for cautious cleaning. Check the thread course and remove any unfastened thread pieces. Leftover thread can cause uneven stitching. Visit our article about troubleshooting tension issues of embroidery stitching
This daily care takes only ten minutes but helps your machine last longer. Remove key parts with a clean cloth to stop dust from growing up. These simple steps keep the machine working well and let you focus on your creative tasks.
4. Weekly Maintenance Tasks:
Weekly maintenance confirms that your embroidery machine remains in the best condition. Go ahead by removing and cleaning the bobbin case and hook area. Get rid of dirt using a cotton swab so the hook race is clean and oiled. Then, take apart the needle plate to clean the area below it. This stage removes hidden lint that can affect the feed dogs’ execution. Restore the needle plate strongly, tightening screws rightly to evade misalignment.
These weekly tasks confirm that your embroidery machine works properly. By spending time, you’ll stop having issues and regularly find superior stitching results. Weekly care balances daily cleaning for the best care.
5. Deep Cleaning and Lubrication:
Effective cleaning and lubrication are important for keeping your embroidery machine’s production. Use pressed air to remove dirt and lint from hidden parts. Unsoil the hook race carefully and put on a suggested lubricant on the hook race. Be careful to keep away from over-oiling, because too much oil can gather lint to build up particles. Wipe away extra oil with a soft cloth.
Proper oiling keeps moving parts working and stops useless damage. This deep care makes your machine provide unique stitching and support to improve the quality of your embroidery projects and increase the duration of your embroidery machine. If you want to increase your embroidery quality, then you can visit: How to Evaluate Embroidery Quality
6. Tools You’ll Need for Cleaning:
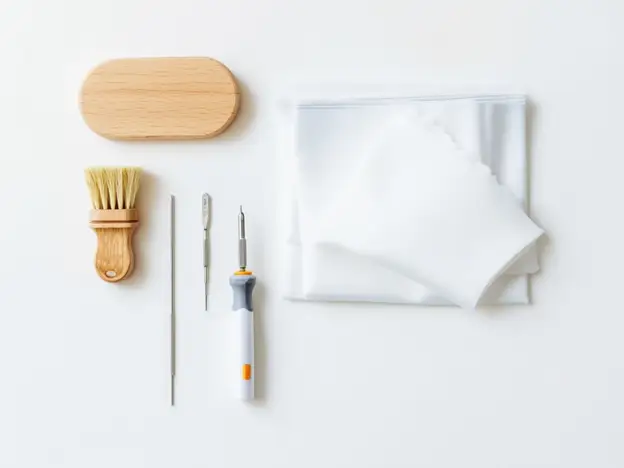
The right tools are important for active embroidery machine cleaning. Basis tools like lint soft brushes, cotton cloths, and tweezers are essential for removing dust, lint, and thread deposits. Fresh air can be helpful but must be used carefully.
For more power, use free tools like mini vacuums, screwdrivers, and magnifying glasses, which make cleaning difficult parts easy. Avoid using household oils, as these may harm your machine’s parts. Keeping these tools prepared and quickly available confirms that cleaning becomes an effortless task. A proper cleaning kit reduces the process and improves the power of your embroidery machine.
7. Common Mistakes to Avoid:
Abstaining from common mistakes during the process of cleaning your embroidery machine to prevent needless damage and certifies actual maintenance.
- Misusing compressed air is a common error
- Undue air pressure can push debris intensive into the machine to cause internal blockages
- Do not neglect to exchange the needle repeatedly to avoid both stitching quality and cleaning effectiveness
- Using unapproved cleaning products is another drawback to keeping away from the corroding your machine parts
- Always observe to suggested cleaning tools
- By passing cleaning routines can lead to execution queries
- By considering these mistakes, you can sustain your machine’s reliability and longevity.
If you want to learn how to avoid common mistakes in embroidery, then you can visit: Common Embroidery Mistakes
8. Professional Servicing: When to Call an Expert:
Professional servicing is an important part of machine care. It helps fix problems that regular cleaning cannot. Home maintenance handles daily and weekly needs. Professional service is needed for issues like tension problems, strange noises, or repeated thread breaks. If you want to get knowledge about types of thread, then you can visit: Types Of Machine Embroidery Thread
An approved technician certifies your machine’s internal apparatuses remain in ideal condition. Look for sanctioned service providers suggested by your machine’s manufacturer. Professional servicing more than once in a year is a satisfactory exercise, especially for profoundly usable embroidery machines. Professional preservation along with assiduous home care make best use of your machine’s performance. This recurrent exercise will allow you to concentrate on producing perfect embroidery projects.
9. Cleaning Tips for Different Machine Types:
Diverse embroidery machines have exclusive cleaning desires based on the design and working of embroidery machines. Single-needle machines have easier maintenance practices concentrating on the bobbin case, needle plate and thread path. Commercially used multi-needle machines entail extra care due to their multifaceted systems. For more about bobbin then you can visit: Embroidery Machine Bobbin Thread
Antique or vintage machines need superior care to stop corrosion and maintain practicality. Always discuss the detailed user manual for detailed directions to maintain your machines. By ensuring the suitable cleaning practices for your machine, you can guarantee reliable performance. This personalized approach to cleaning makes best use of the competence and lifetime of your embroidery machine, irrespective of its type or usage level.
Conclusion:
Durability and constant performance require regular maintenance of an embroidery machine. It is necessary to avert common issues (thread breakage and stitching inconsistencies) by practicing regular cleaning routines, jointly with episodic deep cleaning and lubrication.
A regular cleaning agenda certifies your machines in an ideal condition, prepared for perfect embroidery projects. Professional servicing balances home care by addressing deeper maintenance requirements and solving unseen problems. You can retain your sewing machine reliable, well-organized, and durable by observing the steps drawn in this guide.
Clean machines bring better outcomes and make your sewing experience pleasurable and gratifying to enhance your understanding and repairing practices. Your dedication to suitable cleaning and servicing of your embroidery machine will remain to support your imaginative activities for years to come.
Frequently Asked Questions: Embroidery Machine Cleaning
How often should I clean my embroidery machine?
It is suggested that you clean and neat your embroidery machine after at least every 8–10 hours of usage during any project domestic or commercial. This comprises removing lint, dust, and thread remains or deposits, especially from the bobbin case, needle area, and other accessible parts. Consistent cleaning certifies smooth stitching. Always consult your machine’s guidebook for directions.
What happens if I skip regular cleaning?
Regular cleaning of lint clogging protects the internal parts of your machine, which removes the issues like tension imbalances, skipped stitches, and uneven embroidery. Additionally, debris stockpile can damage the motor and other components. This may cause noise and decrease the machine productivity and cause breakdowns demanding expensive maintenance.
Can I use household oil for lubrication?
Household oil can thicken with the passage of time. So, it is not appropriate for your embroidery machine to cause the attraction of dirt and dust. This can clog the components, inactive movement, and damage to apparatuses. Steady lubrication with the exact oil safeguards the optimum performance and efficiency of your machine.
What are the signs my machine needs professional cleaning?
After consistent care and maintenance, you observe unusual noises, inconsistent tension, skipped stitches, or inactive operation. These are indicators of internal stockpile or hoarding of lint and dust. Professional servicing is also recommended if you use your embroidery machine substantially without profound cleaning.