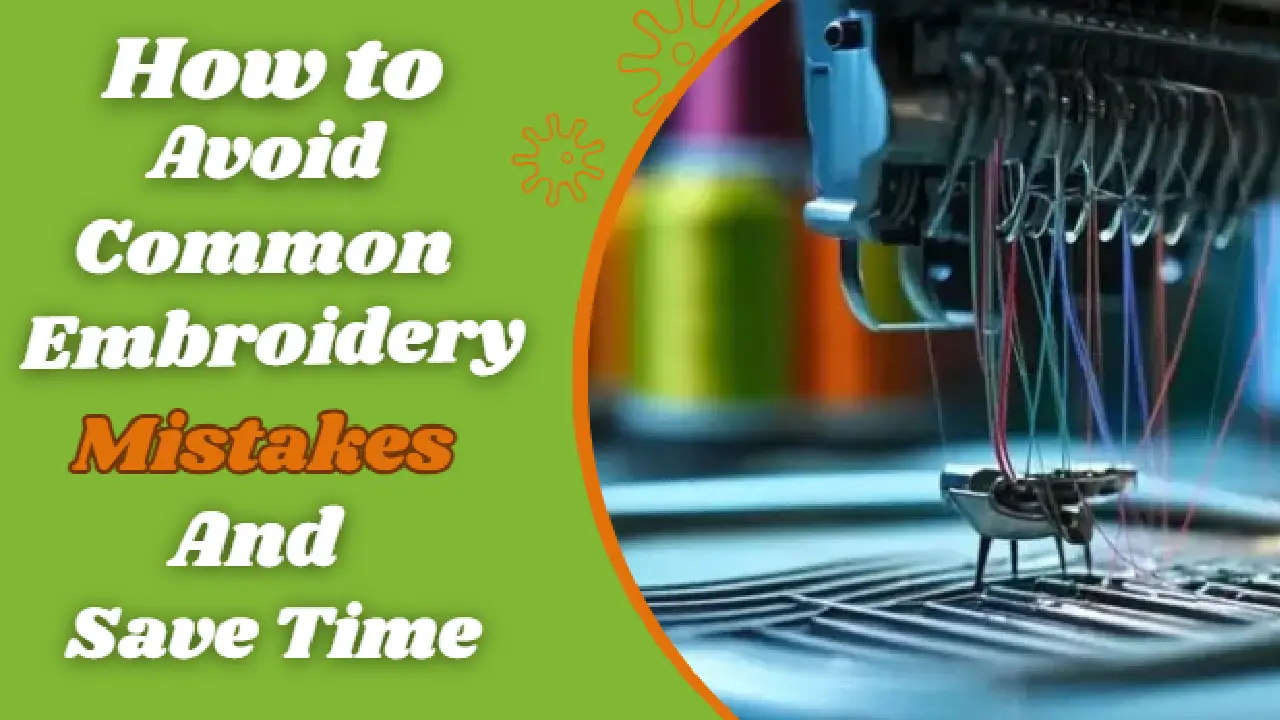
How to Avoid Common Embroidery Mistakes and Save Time
Planning and Preparation Mistakes:

Embroidery success begins before you make your first stitch. Proper planning and having the right materials ready are key to avoiding mistakes. Below, we cover some common embroidery errors and how to fix them.
Skipping the Design Preview

Problem:
Unexpected issues of wavy patterns, color errors, or incorrect sizing can occur due to jumping straight into stitching without testing the design.
Solution:
- Preview the Design: Use embroidery software to model your design’s look on the chosen fabric. This step may help you before stitching to identify possible issues.
- Test on Scrap Fabric: Always run a trial on the same material to make sure the design works well in terms of size, colors, and quality of stitching.
Incorrect Stabilizer Selection
Problem: The selection of a mistaken stabilizer can cause puckering, distortion, or inadequate support to devastate the concluding look. A complete guide on the stabilizer
Solution:
- Match Stabilizer to Fabric: Consider the fabric type (stretchy, light, heavy, etc.) and stitch density while choosing a stabilizer.
Common Stabilizers and Uses:
|
Stabilizer Type |
Best For |
Key Features |
|
Tear-Away |
Woven fabrics like cotton |
Easy to remove; supports light stitch density. |
|
Cut-Away |
Stretchy or knit fabrics |
Provides long-term stability for dense designs. |
|
Water-Soluble |
Sheer fabrics or lace designs |
Dissolves in water; ideal for delicate work. |
|
Adhesive |
Small or hard-to-hoop items |
Holds fabric in place without shifting. |
Take your time to preview the plan and practice the right stabilizer to ensure your project starts on the right foot.
Machine Setup Errors:
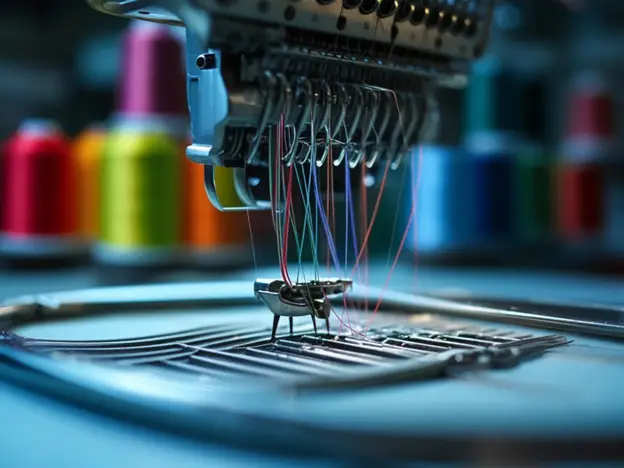
Your machine setup can play a dynamic role in creating sound embroidery. To avoid fraying, breaking, or uneven stitching, you must stay away from unsuitable threads or needles and always select high-quality embroidery threads, such as polyester or rayon.
And also try the needle type according to the size of your fabric. Assess the tension settings by stitching a scrap fabric as a trial and adjust step by step till the balance of stitches is achieved before starting a project. A prudent machine protects smooth stitching, reduces faults, and augments the overall quality of your work.
Hooping Mistakes:
Hooping errors can affect embroidery quality. Overloading is a common problem. This happens when fabric is moved too forcefully. Hoop the fabric without stretching it. This prevents overstretching. Consider hooping aids. Locks or stabilizers can also add precision.
Hoop positioning grids are often skipped. This leads to deformed sketches. Those sketches waste time and materials. Templates position the design correctly. This ensures professional results. Proper hooping saves time. It prevents errors. Your embroidery projects will look well-executed.
Poor Digitizing Practices:

Another common reason of embroidery mistakes is a poor digitizing method, which leads to loss of time and funds. One main problem is overlooking underlay stitches, which deliver stability to the design. Embroidery can make the fabric look fake without an underlay, affecting the final look.
To fix this, check that proper underlay stitching is added during the digitizing process to produce a durable base. One more recurrent issue is unneeded stitch thickness. These condensed designs harm the fabric, cause thread breaks, and thus result in uneven stitching.
Troubleshooting During Stitching:
Troubleshooting issues during stitching is necessary to ensure accurate embroidery. One common mistake is skipping smooth-running machine maintenance. Dirt growth, dull needles, or tight parts can lead to common thread breaks, skipped stitches, or uneven tension. Clean your machine regularly, after every project, and swap needles for precision. Another topic is overlooking thread-break actions. Always remove stitching when a thread breaks, and inspect for tension issues.
and check for potential issues. Addressing these errors quickly and maintaining your machine confirms smooth operation and high-quality embroidery results.
Time-Saving Tips for Embroidery Projects:
Time-saving methods drive embroidery projects to be neat and entertaining. Batch research is an effective method: gathering all the required supplies, such as fabric, threads, and stabilizers, for multiple projects at once. This practice explains the workflow.
Also, installing your PC is a game-changer. Keep threads, needles, stabilizers, and tools skillfully arranged and easily located to reduce setup time and avoid delays. By following these instructions, you can point out the creative features of embroidery. Consider using a checklist to ensure that you are organized and run smoothly.
Avoiding Fabric-Specific Mistakes:
Staying away from fabric-specific faults is key to getting first-class embroidery grades. Flexible fabrics, such as knits, are inclined to distort throughout stitching. To address this, use a cut-away stabilizer to deliver a stable groundwork and pair it with a ballpoint needle, which moves between the fibers without defacing.
For soft fabrics like silk or organza, the difficulties include tearing due to their broken nature. Use lightweight stabilizers to maintain the fabric’s strength and sharp needles for correct stitching and not to damage the material. Considering the unique needs of each fabric type and changing your method can have verified professional effects.