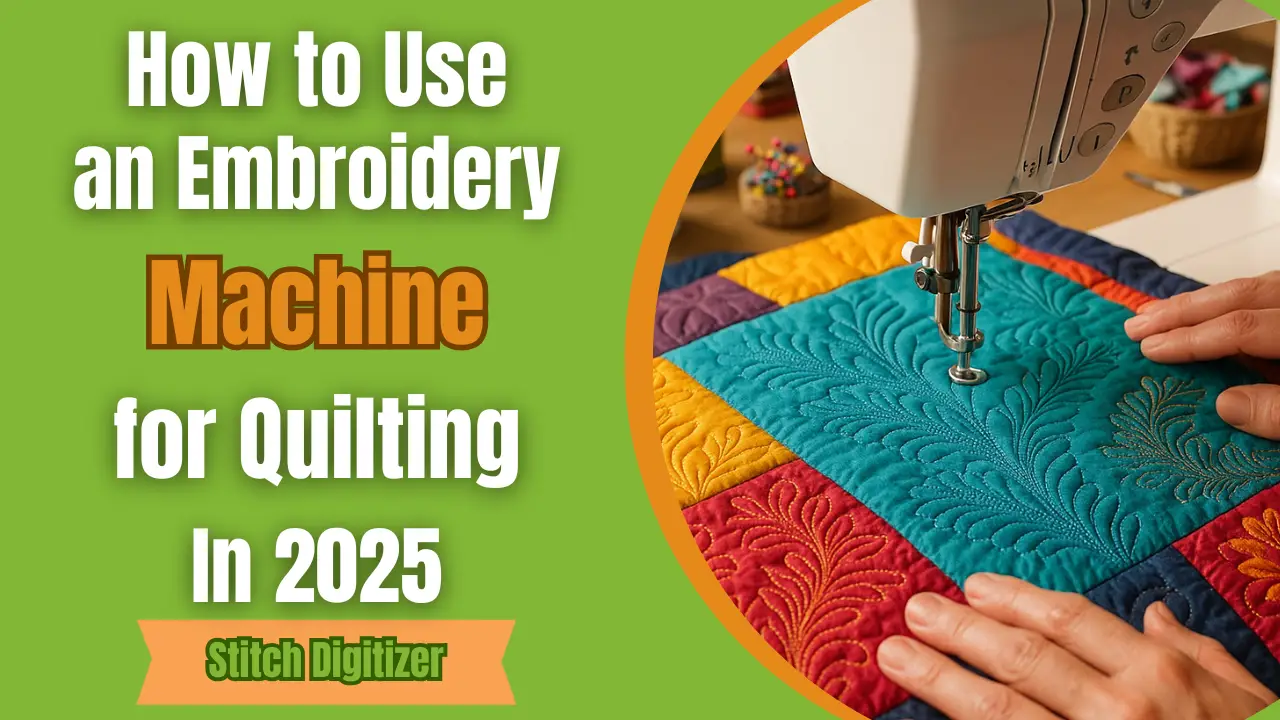
How to Use an Embroidery Machine for Quilting in 2025
Embroidery machine for quilting is fun, creative, and easier than you think. This beginner-friendly guide will walk you through everything. You’ll learn what tools to use, follow simple steps, and pick up smart tips along the way. Ready to turn your embroidery machine into a quilting powerhouse? Let’s get started!
Introduction of Using an Embroidery Machine for Quilting
Embroidery machines are a fantastic tool for quilters who want to enhance their projects with intricate patterns and designs. These machines, typically used for adding detailed stitches to fabric, can do much more. You can use them for quilting too! Their precision and versatility help you save time and place each stitch perfectly.
Advantages of Using an Embroidery Machine for Quilting
Quilting with an embroidery machine offers the following benefits to users:
1. Precision
One big benefit of using an embroidery machine is its accuracy. Hand quilting can make stitches uneven, but a machine keeps them the same. This helps a lot with detailed designs and soft fabrics. It makes your quilt look neat and professional.
2. Creative Freedom
With an embroidery machine, the world of design opens up. Quilters can experiment with a wide range of stitches, patterns, and motifs that would be difficult or impossible to replicate by hand. whatever the shape or design, an embroidery machine gives you the creative freedom to explore new ideas and push the boundaries of traditional quilting.
3. Time saving
Embroidery machines save a significant amount of time by automating the stitching process. The machine finishes in hours what takes days by hand. You save time, make more quilts, or focus on other creative work.
4. Easy for beginners
Even if you’re new to quilting, an embroidery machine can help you achieve professional-quality results without a steep learning curve.
Essential Tools and Materials for Quilting
Before you dive into the magical world of embroidery machine for quilting, it’s essential to get your toolkit right. Whether you’re just starting or looking to level up your craft, this guide covers what you need to quilt like a pro. The first and foremost tool you need is a good embroidery machine.
Features to Look for in Your Embroidery Machine for Quilting
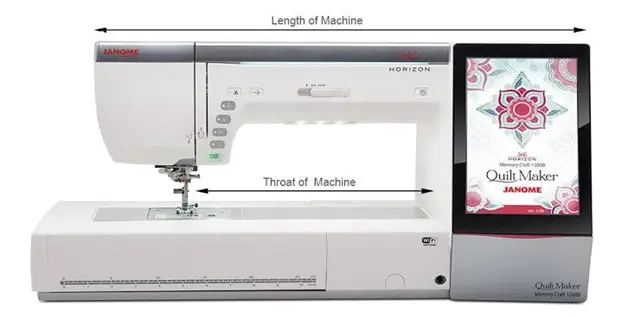
- Pick a machine that’s strong and smart, not just good-looking.
- Choose one with a large hoop size to reduce re-hooping and keep designs flowing smoothly.
- Make sure it has built-in quilting patterns or lets you import custom ones through USB.
- Look for adjustable presser foot height and stitch tension to avoid puckering and skipped stitches.
- A powerful motor and easy-to-use controls make quilting faster and more enjoyable.
Other Supplies You Will Need
You don’t just need the machine itself, you need the right tools to match.
Quilting threads:
Start with strong, smooth quilting threads that glide through fabric without breaking. Cotton or polyester threads both work well, depending on the texture and finish you want for your quilt. A complete guide on why your embroidery machine keeps breaking thread
Batting fabric:
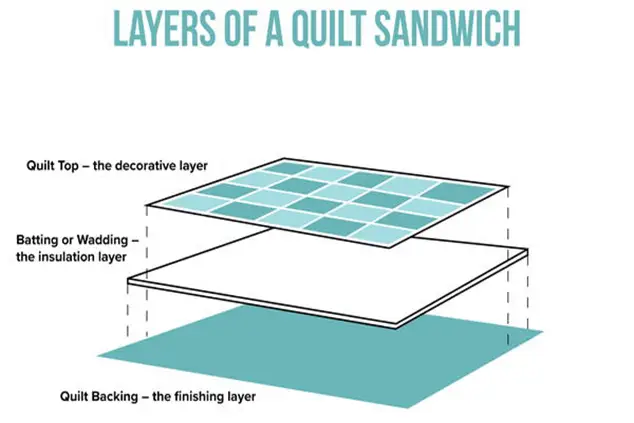
You will also need batting and backing fabric to form the classic quilt sandwich. Batting gives your quilt that soft, cozy feel. While the backing holds it all together and shows off your stitches from the other side. Make sure these materials complement your top fabric in weight and texture for a balanced finish.
Quilting needles:
Don’t forget to stock up on quilting needles. These are specially designed to punch through multiple layers without bending or snapping.
Stabilizer:
Stabilizers help keep your fabric firm and flat while stitching. They prevent shifting, warping, and bunching. With the right tools and machine features in your corner, you’re not just quilting, you’re creating fabric magic. A complete guide on embroidery stabilizers
Step-by-Step Quilting with an Embroidery Machine
Here’s how you can start quilting with embroidery machine step by step:
Step 1: Gather Your Materials
First, get all of these essential items to start quilting your first project.
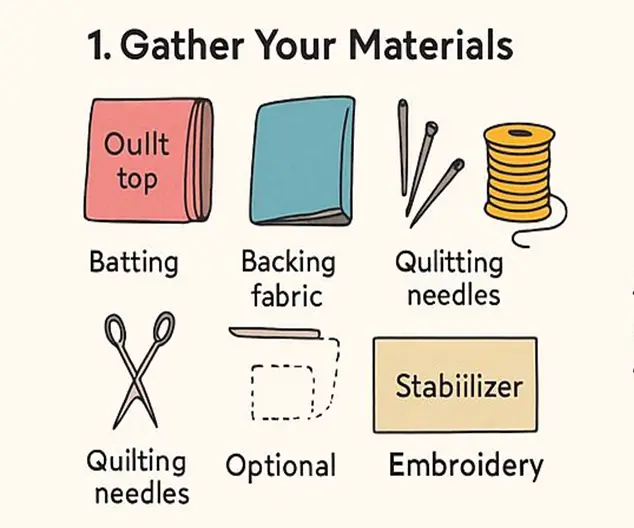
- Quilt top fabric Batting (middle soft layer)
- Backing fabric
- Quilting thread
- Quilting needles.
- Stabilizer (optional but helpful)
- Embroidery machine with hoop
Step 2: Prepare the Quilt Layers
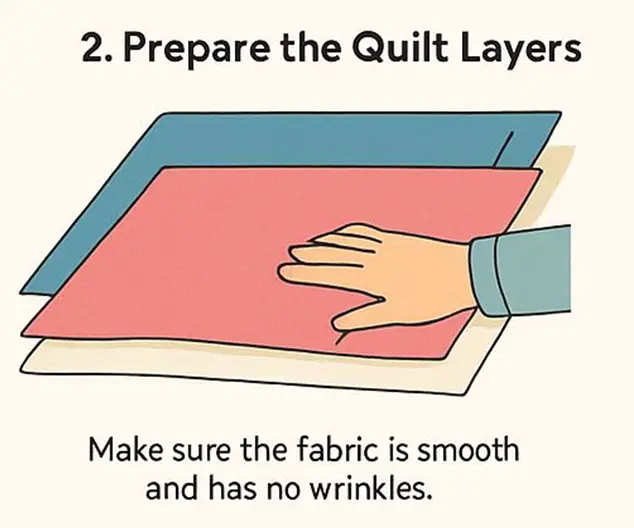
- Lay the quilt top, batting, and backing on a flat surface.
- Make sure the fabric is smooth and has no wrinkles.
- Pin or baste all three layers together so they don’t move during stitching.
Step 3: Set Up Your Machine
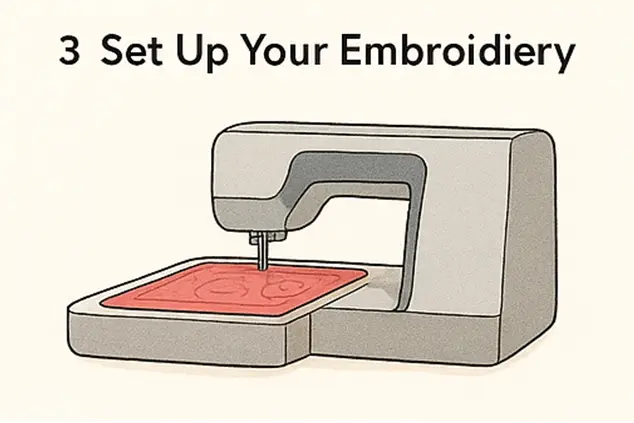
- Plug in your embroidery machine and turn it on.
- Choose a hoop that fits your design size.
- Thread the machine with quilting thread.
- Pick a built-in design or upload a new one using a USB.
Step 4: Hoop the Quilt
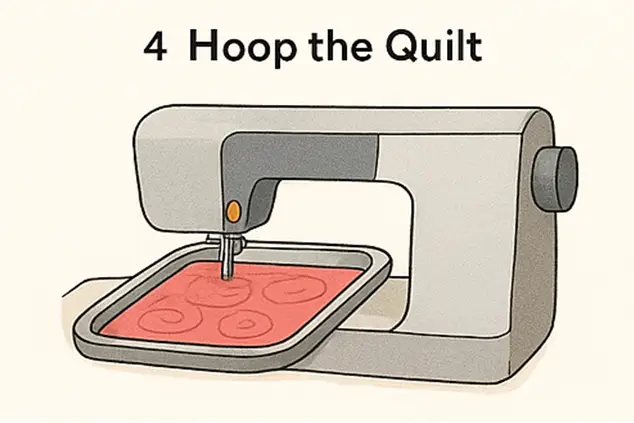
- Place the quilt layers in the hoop.
- Make sure the fabric is flat and the design is centered.
- Tighten the hoop, but not too much. The fabric should be secure but not stretched tight.
Step 5: Start Quilting
- Press start and let the machine begin stitching.
- Watch the process and make sure the thread doesn’t break.
- If you’re quilting a big area, move the hoop and re-hoop when needed.
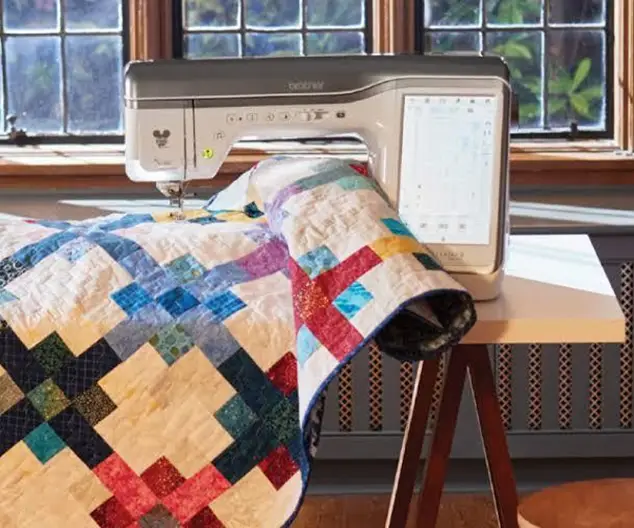
Step 6: Manage Large Quilts
- Roll the sides of the quilt and clip them with hair clips or fabric clamps.
- Support the quilt using a table or chair so it doesn’t pull on the needle.
- Take small breaks and check if everything is stitching correctly.
Step 7: Finish the Design
When the design is complete, stop the machine.
- Remove the hoop carefully.
- Cut any extra threads using small scissors.
Step 8: Add the Binding
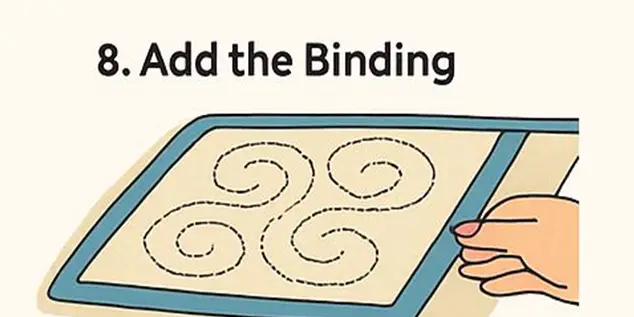
- Cut fabric strips for the edges of the quilt.
- Sew the strips on all sides to give a clean finish.
- You can do this by hand or use your sewing machine.
Some handy tips:
- Always test your design on a scrap piece first.
- Use high-quality thread to avoid breakage.
- Make sure the needle is sharp and not old.
Tips for successful quilting with embroidery machine
Before you start quilting, use this simple checklist to make sure everything’s ready for a smooth and successful project:
Fabric Preparation
Pre-wash and iron fabrics to prevent shrinking and wrinkles. Cut fabrics to the correct size for your quilt top, batting, and backing. Check fabric for any defects or tears.
Embroidery Machine Setup
Clean the machine, including the bobbin case and needle area. Check the machine’s threading and ensure the correct needle is inserted. Confirm the hoop size is appropriate for your quilt design. Test the machine with scrap fabric to check for proper stitch quality.
Stabilizers and Backing
Choose the right stabilizer for your fabric (cutaway or tearaway, depending on the fabric). Attach the stabilizer securely to the quilt layers. Baste or pin the quilt layers together to prevent shifting during stitching.
Design Selection and Setup
Choose the embroidery design for your quilt and load them onto the machine. Center the design on the quilt top to ensure proper placement. Adjust machine settings for stitch type, tension, and speed as needed.
Threading and Tension
Use high-quality embroidery thread for a smooth finish. Double-check the thread tension (top and bobbin) for balance. Make sure the thread is correctly loaded on both the top and bobbin spools.
Conclusion
Embroidery machine for quilting is fun, fast, and full of creative possibilities. You don’t need to be an expert to get started just take it one step at a time. Play with patterns, try new threads, and enjoy the process. The more you explore, the more confident you’ll become. We hope this blog will help you and turn every quilt into something truly your own. Keep creating and enjoy every stitch!